Painting windows on the outside – a step-by-step guide
Share
The outside of your windows takes sun, rain, wind and frost all year round. When the paint starts to flake or crack, it is time to repaint before moisture gets into the wood. With the right preparation and the right weather, the paint will last for many years. Here we go through how to paint windows on the outside, from preparation to the final coat.
When should you paint windows on the outside?
The most important thing is that the wood is dry and that it does not rain while the paint dries. Also avoid strong direct sunlight, which can make the paint dry too quickly. Check the minimum temperature recommended by the paint manufacturer, as it varies between types of paint.
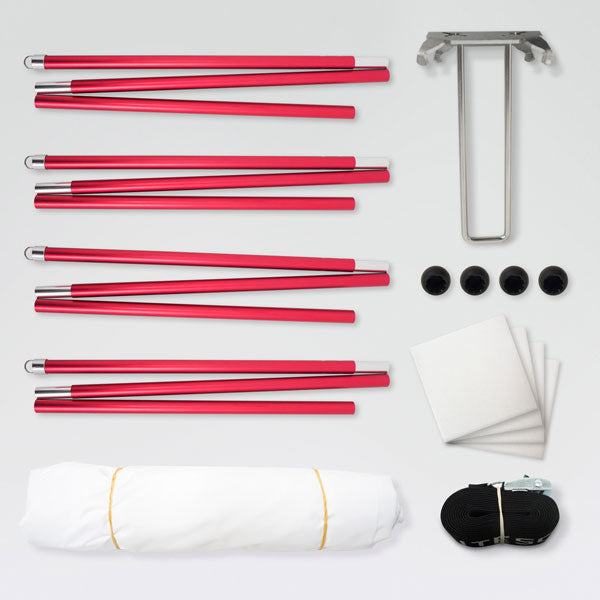
With a window umbrella you are less dependent on the weather. It is mounted outside the window and keeps rain and sun away while you work and while the paint dries.
What you need
- Paint cleaner and a sponge or brush
- Paint scraper
- Sandpaper or a sanding sponge
- Putty knife and glazing putty, if the putty needs repairing
- Primer and topcoat for exterior windows
- Brushes, ideally a narrow brush for glazing bars and corners
- Protective paper to put under the work area
Step 1 – Wash the window
Wash off dirt, algae and grease with paint cleaner. Rinse thoroughly with clean water and let the wood dry completely before you continue.
Step 2 – Scrape and sand
Scrape off all loose and flaking paint. Then sand lightly so that the transition between bare wood and sound paint is smooth and the new paint adheres better. Brush away the sanding dust.
Step 3 – Check and repair the putty
Look at the putty around the glass. Putty that is loose or cracked is removed and replaced. Follow the manufacturer’s instructions on how long the putty should cure before you paint over it. Found rot, or does the window need more than new paint? Read our guide Renovating windows.
Step 4 – Prime bare wood
Prime all areas where the wood is bare. Choose a primer that suits the topcoat you will use and let it dry according to the instructions.
Step 5 – Paint in the right order
Start with the glazing bars and the innermost parts. Continue with the sash and finish with the frame. Several thin coats are better than one thick one, and brush along the grain of the wood. Let the paint extend a millimetre or so onto the glass to seal between putty and glass.
Step 6 – Let the paint dry before closing
Leave the sashes open until the paint is dry. If you close them too early, the sash can stick to the frame and the paint can come off. Drying time depends on the type of paint, temperature and humidity. Linseed oil paint, for example, takes longer to dry than many other paints.
Which paint should you use on exterior windows?
Linseed oil paint, applied in thin coats, is often used on older windows. Whatever type of paint you choose, the most important thing is that the new paint is compatible with the paint already on the window. If you are unsure, take a flake of the old paint to your paint shop and ask.
Painting the inside too?
Many people paint the inside of their windows at the same time. Read how in our guide Painting windows on the inside.
Paint windows whatever the weather with Litescreen
Litescreen is a window umbrella that is mounted outside the window and protects against rain, sun and wind while you paint. You can work with the window open, and the paint can dry in peace even if the weather changes.
- Weighs 2 kg and is mounted without tools by one person
- Withstands wind speeds of up to 32 m/s
- The Basic Kit fits windows up to 160×210 cm. With extension kits you can convert it from 125×165 cm up to 215×280 cm
- With Litescreen Insulation you can paint windows in colder months too
See how it works on the How does it work? page or buy the Litescreen Basic Kit here.