Renovating windows – a step-by-step guide
Share
Older wooden windows can often be renovated instead of replaced. With the right maintenance, well-made wooden windows can last a very long time, and you keep the original character of the house. Here we go through how to renovate windows step by step, from assessment to a freshly painted window.
Renovate or replace?
Start by inspecting the frame and sashes. Press a knife or awl into the wood, especially along the bottom edge where water collects. If the wood feels soft, it may be rot.
If the wood is mainly sound, renovating is usually worthwhile. Limited rot damage can be repaired. If large parts of the frame or sashes are damaged, replacing may be the better option, and it is wise to ask a professional for an assessment.
What you need
- Screwdriver or drill to remove sashes and fittings
- Paint scraper and sandpaper
- Putty knife, glazing putty and glazing points
- New wood or exterior wood filler, if the wood needs repairing
- Primer and topcoat for windows
- Brushes and protective paper
- Protective gloves, safety glasses and a respirator
Step 1 – Plan the work
A window renovation takes several days, because putty, repairs and paint need to dry between steps. The sashes can often be removed and renovated indoors, but the frame has to be done in place. So plan around the weather, or protect the work area so that rain and strong sun do not stop the work.
Step 2 – Remove loose paint
Scrape off all loose and flaking paint without damaging the wood. If you use heat to soften the paint, be careful near the glass, as it can crack. Older layers of paint may contain lead, so avoid dry sanding and wear a respirator.
Step 3 – Repair the wood
Remove rotten wood until you reach sound wood. Small areas of damage can be repaired with exterior wood filler. Larger damage is best repaired with a new piece of wood that is glued in and shaped to match the old profile. Let the repair dry completely and sand it smooth.
Step 4 – Replace the putty
Remove cracked or loose putty with a putty knife. Check that the glass is secure and fit new glazing points if needed. Then reputty with glazing putty and smooth it with the putty knife at an even angle. Follow the manufacturer’s instructions on how long the putty should cure before painting.
Step 5 – Prime and paint
Prime all bare wood and let the primer dry. Then paint in thin coats: glazing bars and inner parts first, then the sash and finally the frame. Let the paint extend a millimetre or so onto the glass to seal between putty and glass. You will find all the steps in our guides Painting windows on the outside and Painting windows on the inside.
Step 6 – Check fittings and weatherstrips
Clean and lubricate hinges and espagnolettes before the sashes are rehung. Replace worn weatherstrips to reduce draughts and make the window close tightly.
How long does it take to renovate a window?
It depends on how damaged the window is and how long the putty and paint need to dry. Expect the work to be spread over several days. The biggest uncertainty is usually the weather, since rain and strong sun can stop work on the outside.
Is there a tax deduction for window renovation?
In Sweden, you can get a ROT tax deduction on the labour cost if you hire a tradesperson. Other countries may have similar schemes, so check the current rules with your local tax authority before ordering the work.
Renovate windows whatever the weather with Litescreen
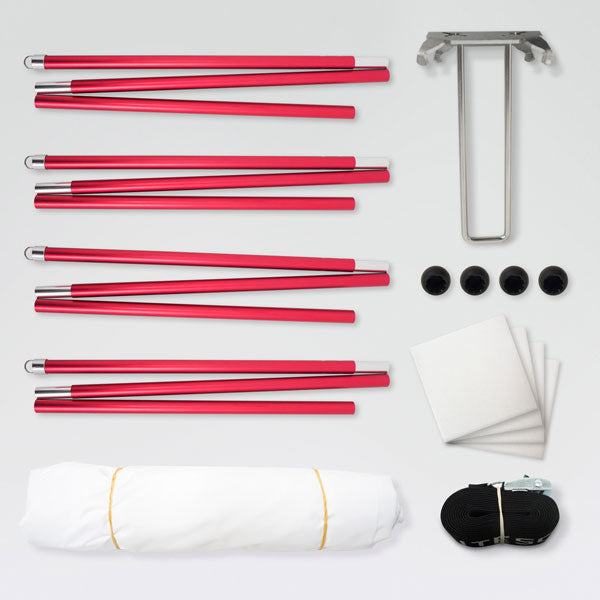
Litescreen is a window umbrella that is mounted outside the window and protects against rain, sun and wind while you work. You can keep going with the renovation even when the weather changes, and the paint can dry in peace.
- Weighs 2 kg and is mounted without tools by one person
- Withstands wind speeds of up to 32 m/s
- The Basic Kit fits windows up to 160×210 cm. With extension kits you can convert it from 125×165 cm up to 215×280 cm
- With Litescreen Insulation you can work in colder months too
See how it works on the How does it work? page or buy the Litescreen Basic Kit here.